Hi guys and gals! Welcome to my first ever DIY post! Don't hesitate to try this because you'll surely have funin creating your own design and it is very easy to do. I decided to make this DIY Ombre Shoes because I don't want to just throw my old white shoes in the trashcan and waste the money I spent for that shoes. (Sayang noh!) And I also wanted to wear it in school not just a simple white shoes but a cool/fashionable shoes! Haha. Well, moving on, I really hope that you'll like it and please bare with me for the poor step-by-step tutorial that I will be going to show.
So, let's get it on!
Here are the things you need for the project:
- Old White Shoes - Mine is an old Advan White Shoes but you can also use new shoes if you want. (White sneakers is much better for this project)
- Fabric Dye Powder or Liquid- For this project, I used Rainbow colors. (Tip: You can try any fading colors like light blue to dark blue, something like that)
- Water (with containers)- In dying fabric, hot water is recommended.
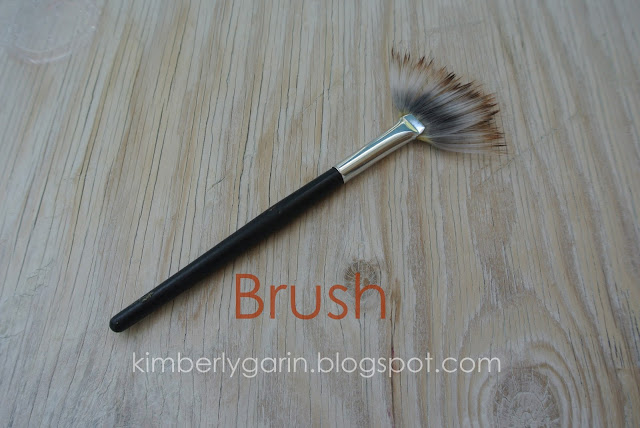
- Paint Brush- You can also used sponge or syringe to dye the shoes even dip-dye will do too.
***
PROCEDURE:
Step 1: Prepare all the things you needed.
Step 2: Mix the Dye Powder and the water. (The color to used is based on your desired color for the shoes.)
Note: Mix all the color you needed before starting to dye so that it would be easy for you to dye continuously.
Step 3: Dye the shoes using the brush. Start on the front of the shoes with the color you preferred up to the last color you want until it reaches the back of the shoes.
Note: Brush/dye carefully! As much as possible, try to make it clean for a better result.
Step 4: Let it dry under the sun.
Looks pretty right? But wait until it is dry.
I love it!
And when the shoes are already dry, the color will fade a li'l bit. Like this:
Sorry to disappoint you for that! But don't worry because if you wanted it to be darker, you can use darker mixture of the dye you'll going to use. And don't let it dry under the sun for a better result!
Which is better? Lol, haha. Well, it is actually your choice if you wanted it to be in a pastel color or not. And for me, I prefer it to be in pastel color that's why it is lighter in result. I also want the Wet color but since it didn't turned out that way I just have to love the dry one. Hahaha!
Step 5: Wear the shoes with confidence!
And that's the end of the steps!
***
TIPS:
- You can also add studs on your shoes if you want to
- Or add glitters for the shoe base
- And add anything that can make it more fashionable and awesome
***
REMINDER:
"Maintain the cleanliness"
Never ever leave your mess on your workstation unless you want to be scolded by your parents! Haha. After doing your project make sure to clean your DIY workstation to prevent you parent in getting mad at you.
***
That's all and thank you for dropping by and reading my DIY Ombre Shoes! Hope you like it!
Note: I accept comments and suggestions for the improvements of this project!
Watch out for my next DIYs!
Please follow my blog to keep me motivated for posting more interesting things or ideas I have.
God bless!
Love,
Kim :*


Naks! Creative! :))
ReplyDeleteThanks Ate Sheena!
DeleteWow, awesome post! I like this post so much, very helpful!!!! :)
ReplyDeletehttp://yanmaling.blogspot.com
Hi Yan! I'm glad you liked it. Have a good day! :)
Deletegano karami ung water s 1 sachet nung dye?
ReplyDelete